
Advanced Pinball Lamp Controller
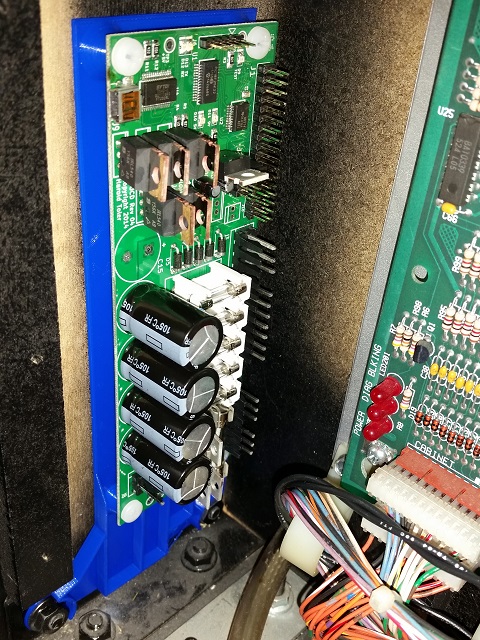
GI OCD WPC95 Bracket Installation
If you don't want to make holes in your backbox by mounting the board with screws, this bracket is an option.
1. Download and 3D print the bracket. Click here.
NOTE: The holes in this model are oversized so that they print correctly using my 3D printer. Yours may vary. The holes should be 3.75mm diameter when printed.
2. Use five #8-32 x 1/4" nylon screws to mount the GI OCD board to the bracket.
NOTE: I do NOT recommend using metal screws because they will overlap copper traces on the board and risk shorting if the solder mask were to get a hole in it.
3. There are two bolts at the bottom of the left side of the backbox that hold the corner bracket. Remove the nuts from those two bolts.
4. Slide the holes in the 3D printed bracket over the bolts and replace the nuts.
You can now continue with the rest of the installation as normal.